Installation Guide

Start installing now
We will now provide you with a step-by-step guide for the installation process. Shouldn't take too long and it shouldn't be too confusing either!
Step 1:
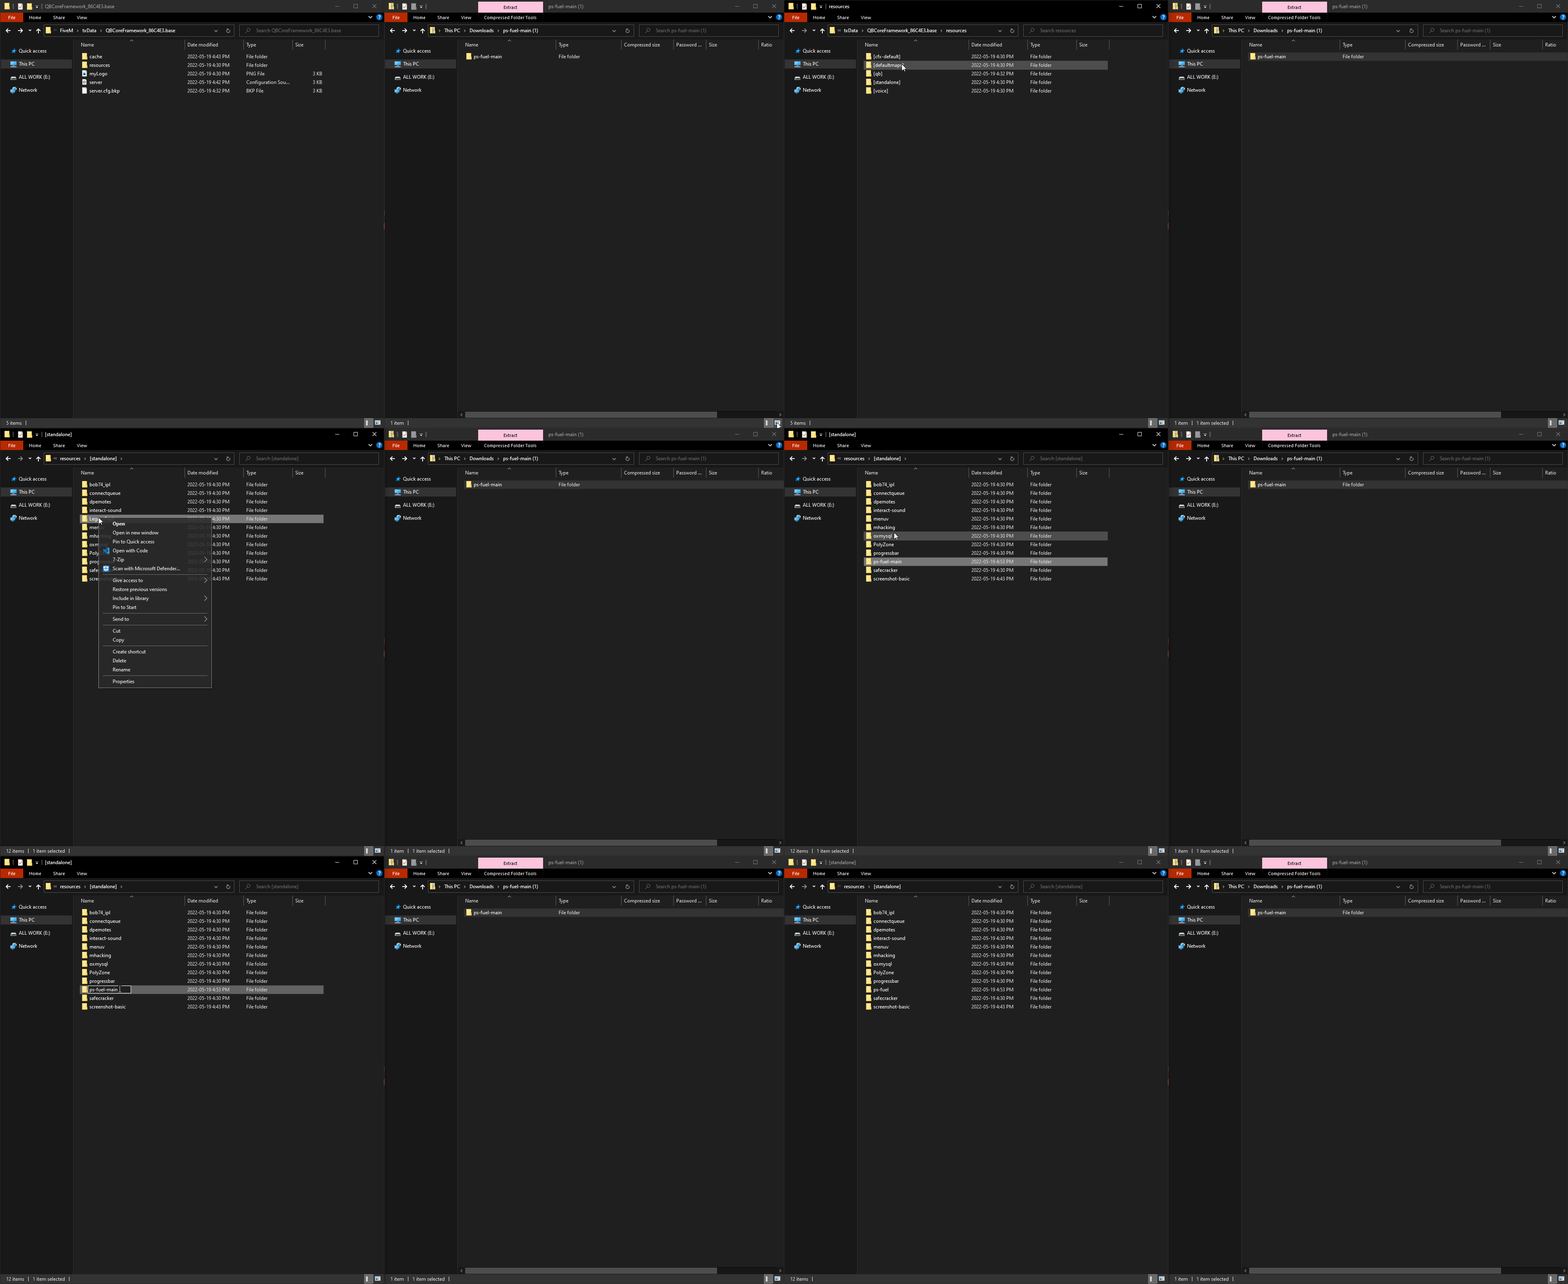
Go ahead and start by dragging and dropping ps-fuel into your designated resources folder.
If you are still lost, Slothy has created a few GIF's to help guide you through all the installation steps.
Step 2:
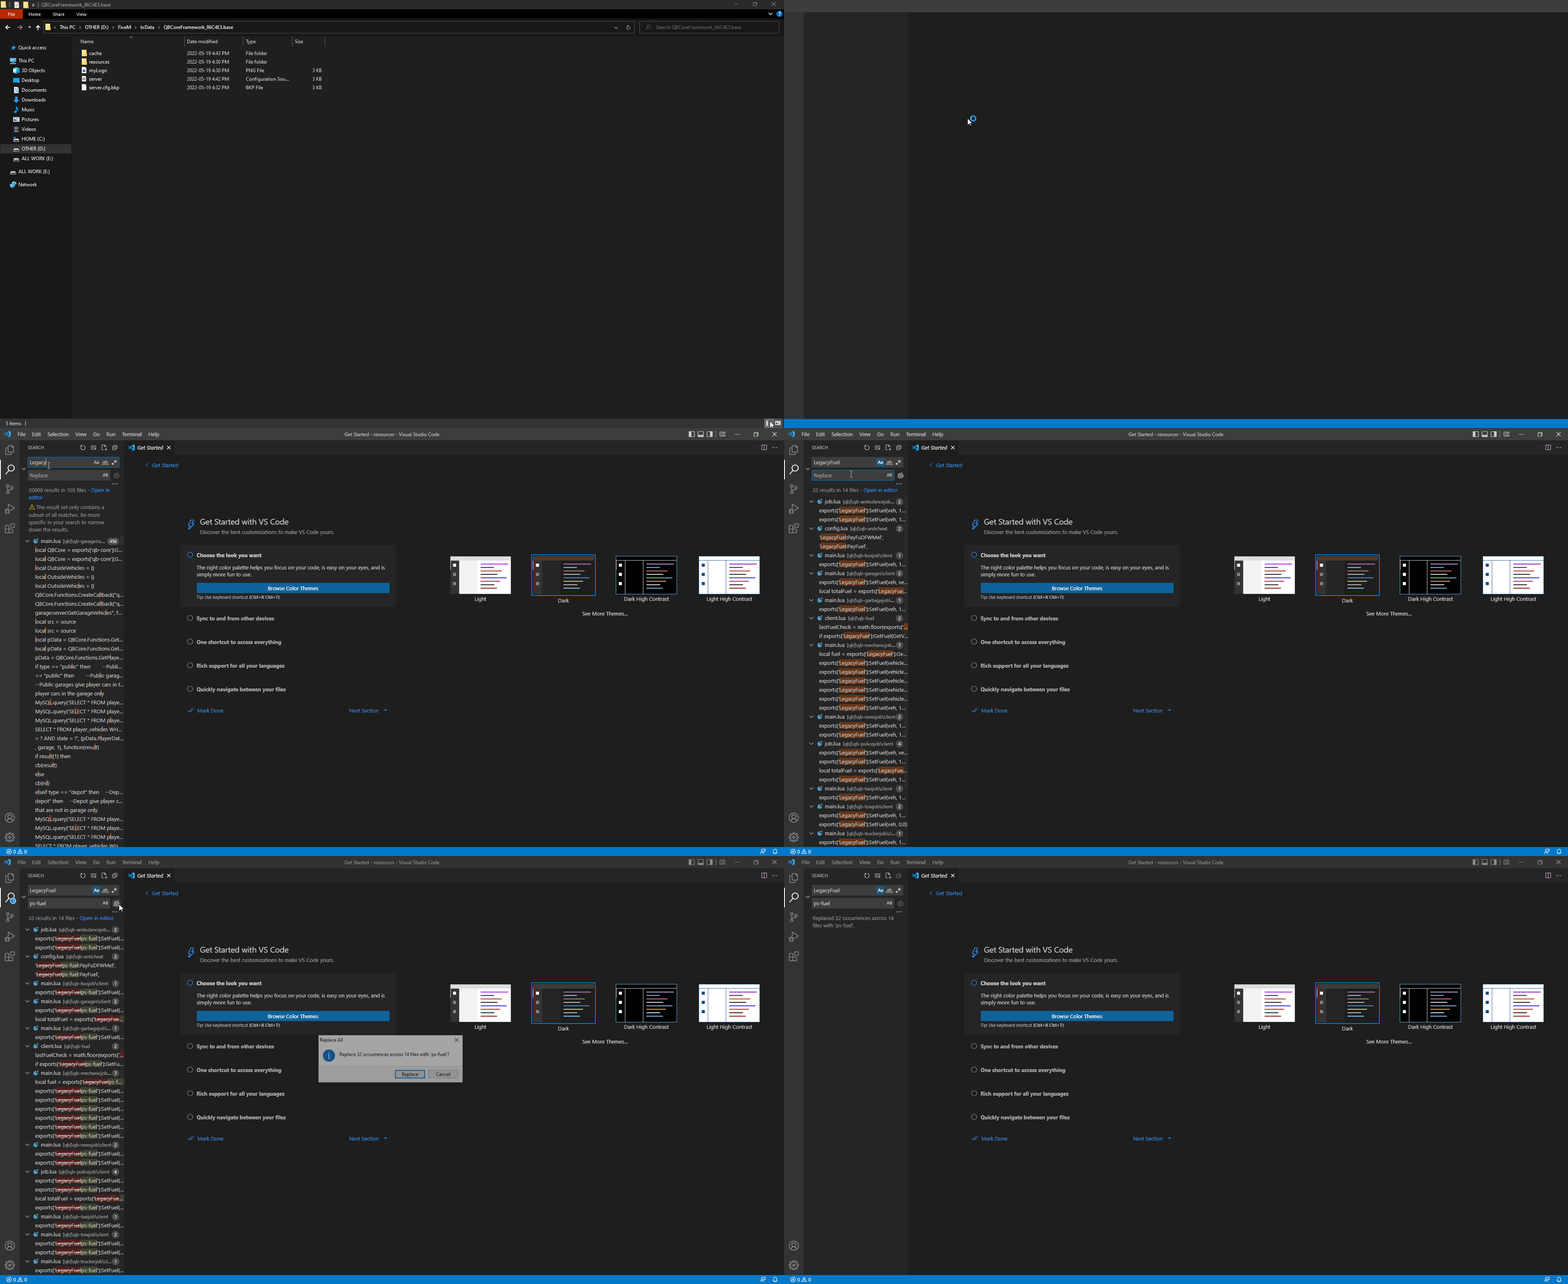
Open your entire resources folder with Visual Studio Code (or whichever program you use) and replace all exsiting exports titled "LegacyFuel" with "ps-fuel" instead.
If you have the previous resource "lj-fuel" do the same thing and replace that with "ps-fuel" or just get this newer version to avoid any conflictions or confusion.
Step 3:
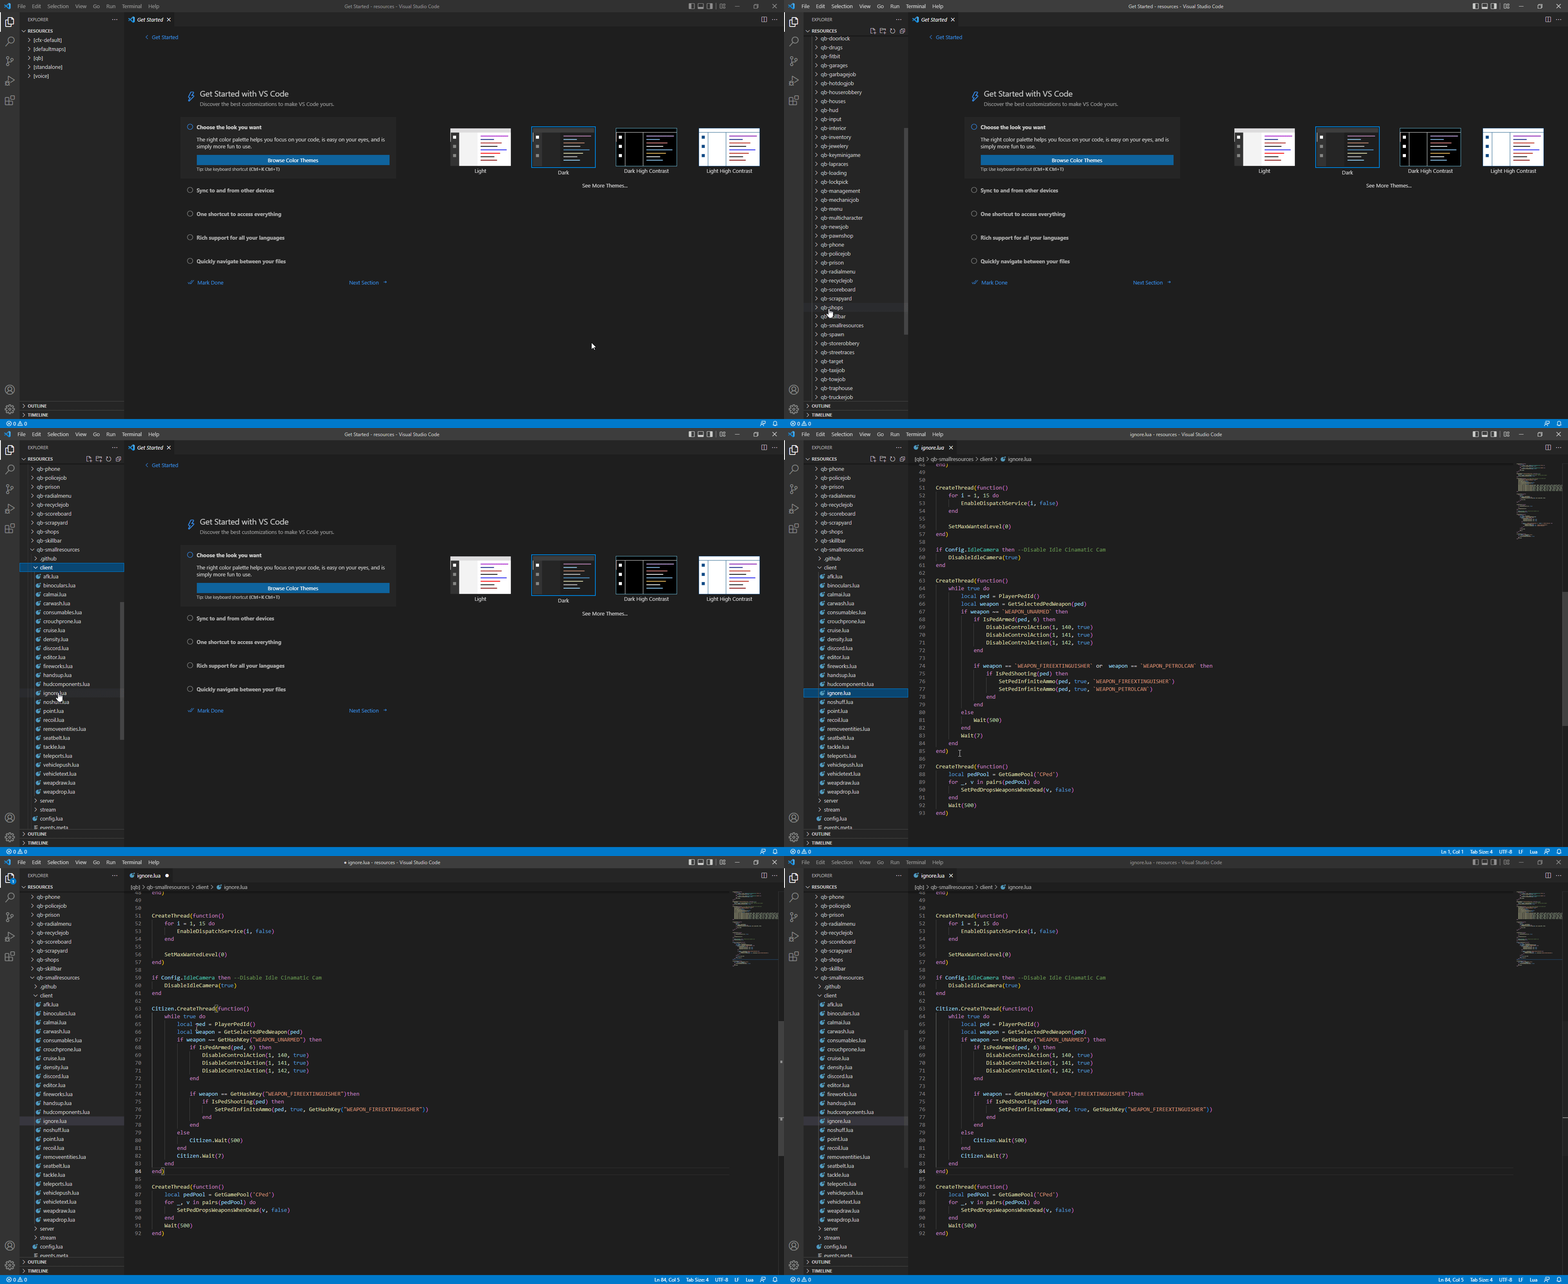
First copy the snippet below and then navigate to your
qb-smallresources/client/ignore.lua
then paste this snippet over the existing lines shown in the GIF below.
Step 4:
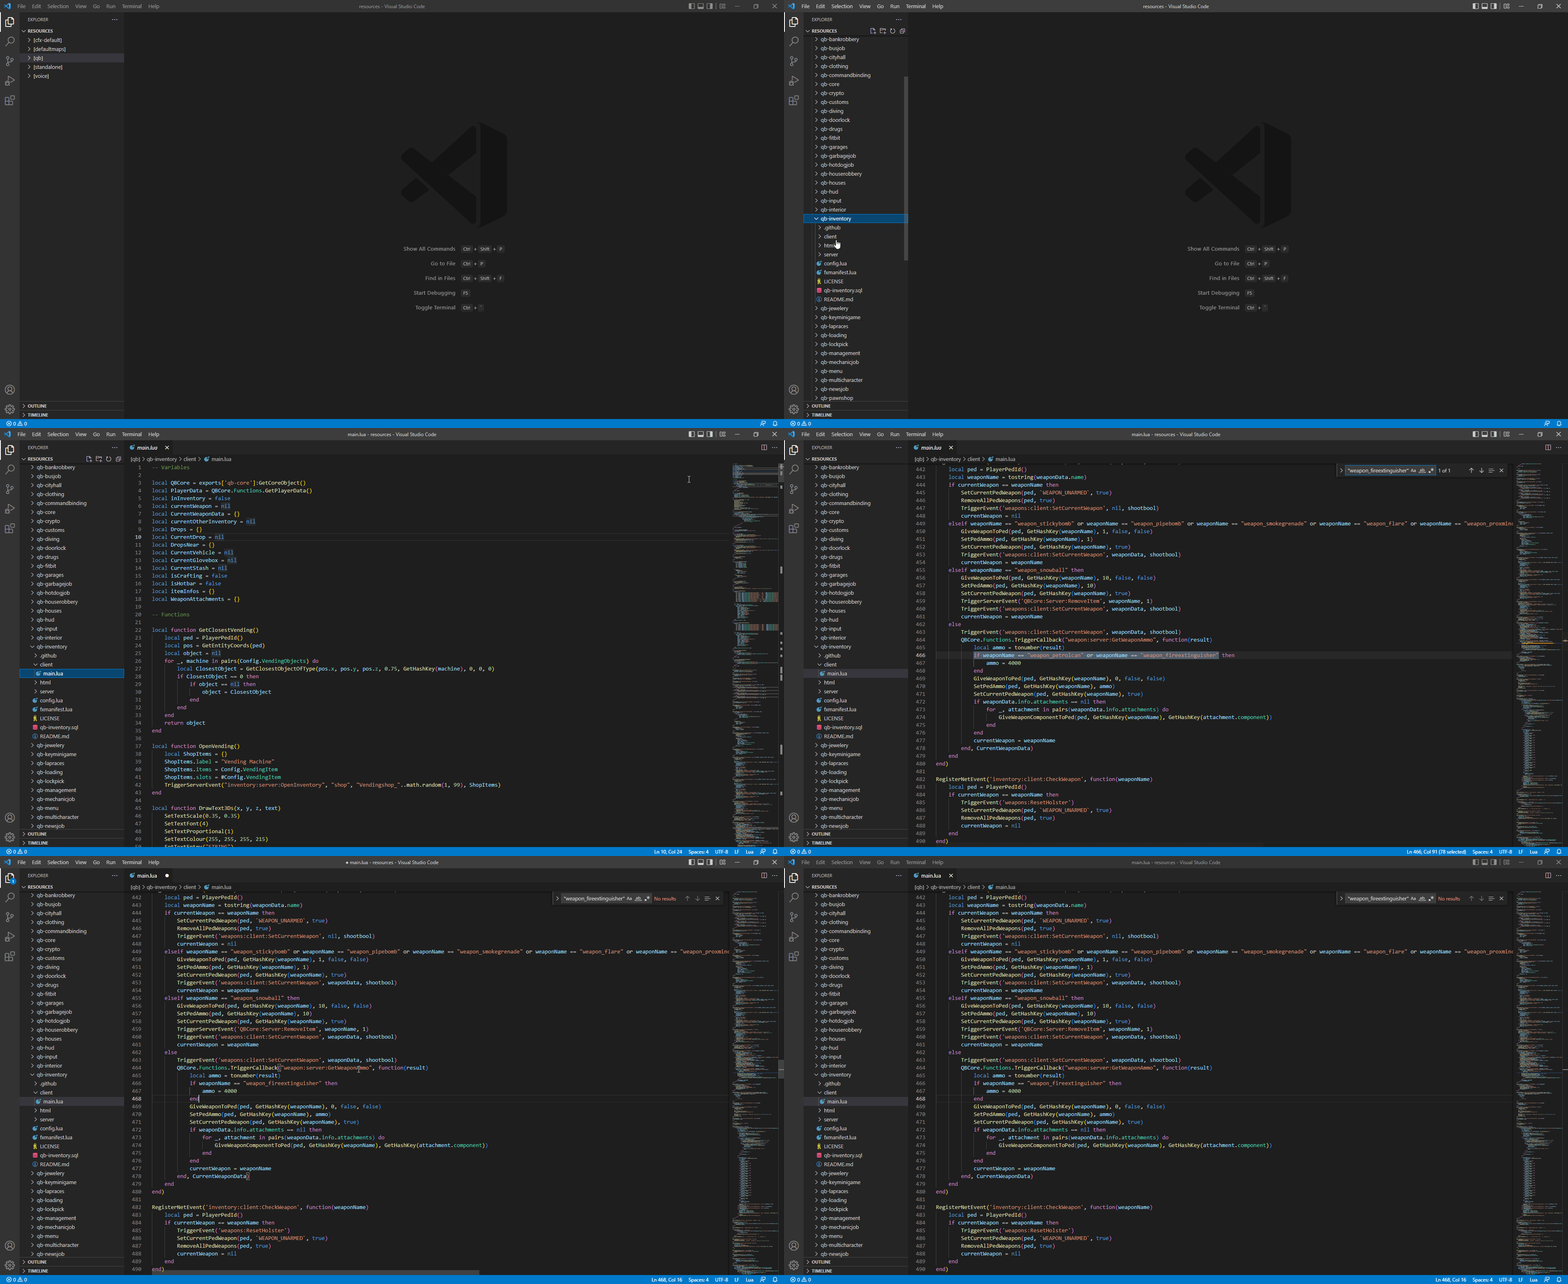
Copy this line and then navigate to your qb-inventory/client/main.lua paste this in your Visual Studio Code search bar.
after it takes you to spot we need, copy this snippet and paste it over the few lines shown in the GIF below.
Step 5:
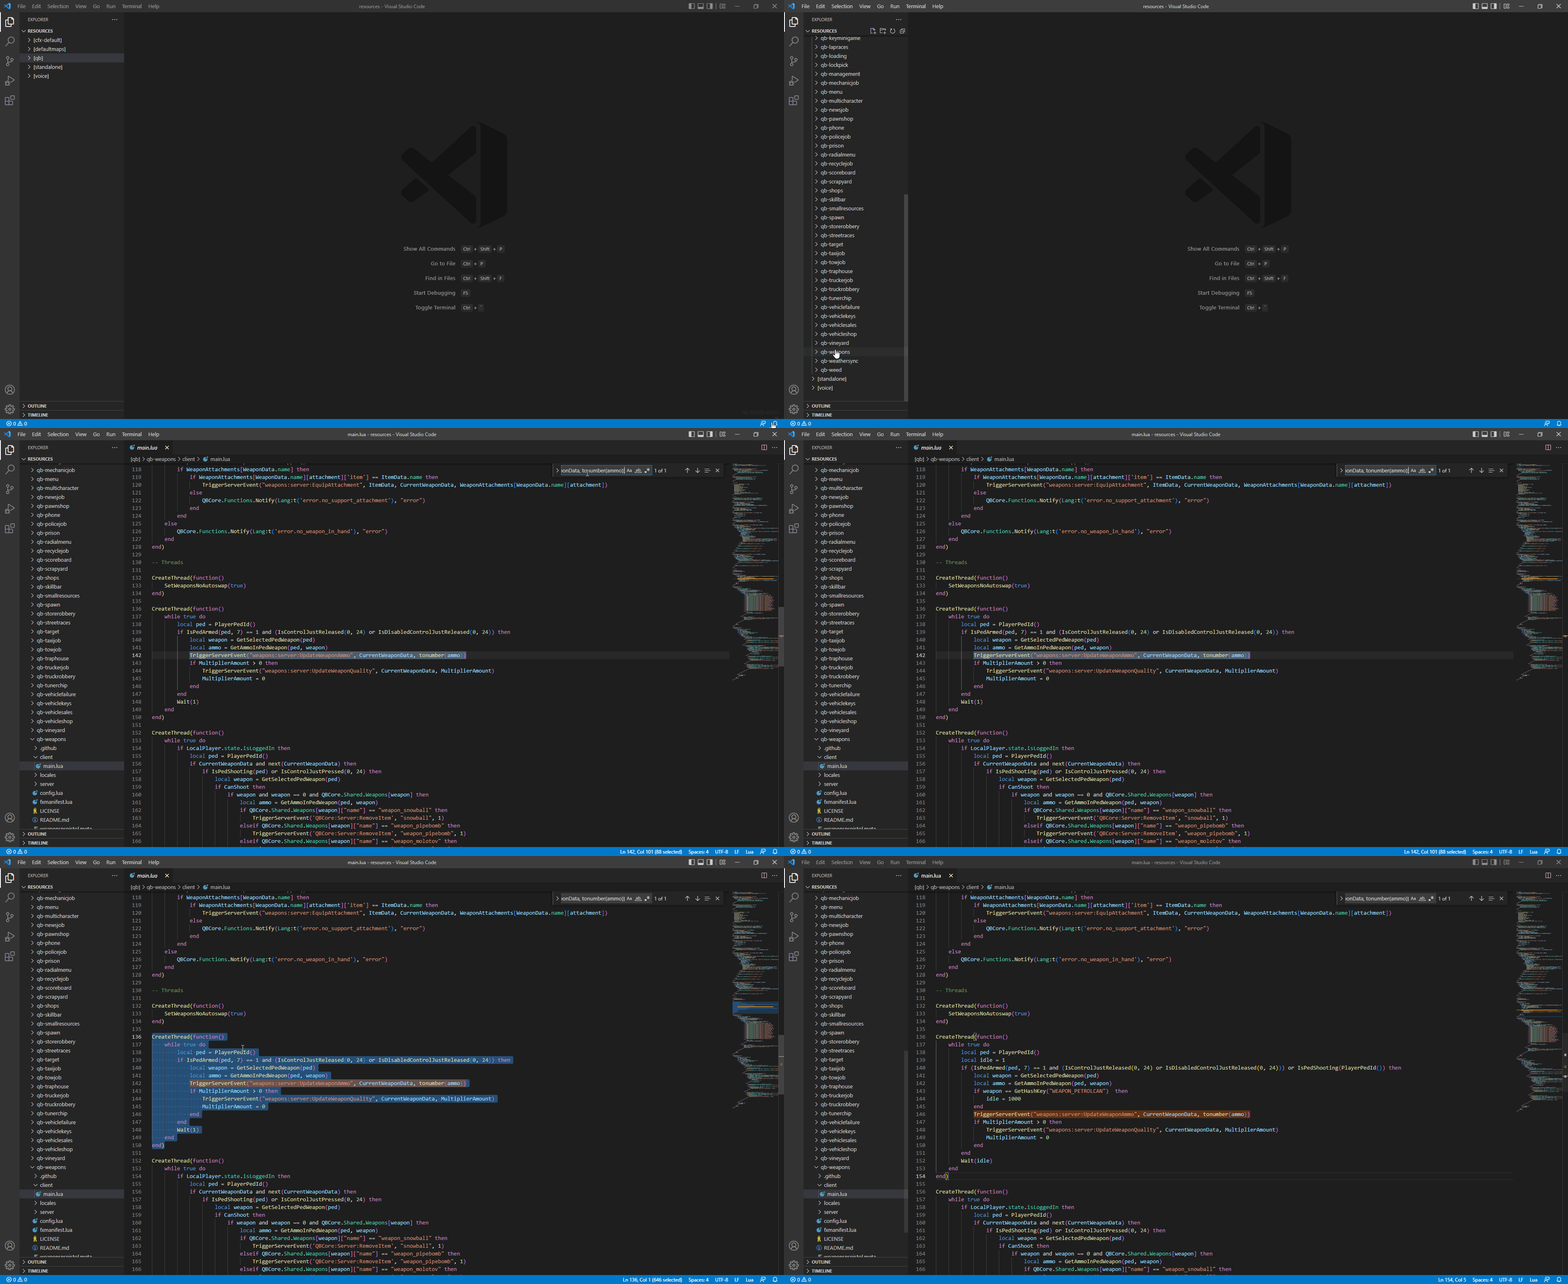
TriggerServerEvent("weapons:server:UpdateWeaponAmmo", CurrentWeaponData, tonumber(ammo))
Copy this line and then navigate to your qb-weapons/client/main.lua paste this in your Visual Studio Code search bar.
After it takes you to spot we need, copy this snippet and paste it over the few lines shown in the GIF below.
Last updated